Contact form 7 message translation befor send the mail

  • Code2Futures
  • Contact form 7 message translation befor send the mail

Installation Steps:

  1. Navigate to your WordPress dashboard.
  2. Go to “Plugins” and click on “Add New.”
  3. Upload the cf7-translate.zip file and click on “Activate.”

Configuration:

  1. After activation, go to your WordPress dashboard and click on “Settings.”
  2. Select “CF7 Translate Settings.”
  3. Here, you will find options to configure the plugin:
    • X-RapidAPI-Key: Obtain this key from the Microsoft Translator Text API. Follow the steps below to find your X-RapidAPI-Key.
    • Target Language: Enter the target language code (e.g., “en” for English, “ta” for Tamil).

Finding X-RapidAPI-Key:

  1. Visit the following URL: Microsoft Translator Text API.
  2. Click on “Pricing” and select the “Basic Plan.”
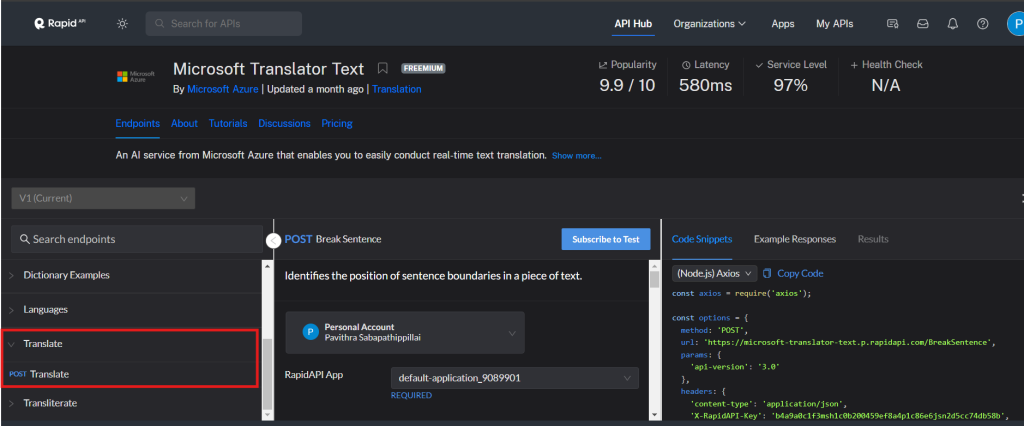
  3. Navigate to the “Endpoints” section and click on “Translate endpoint.”
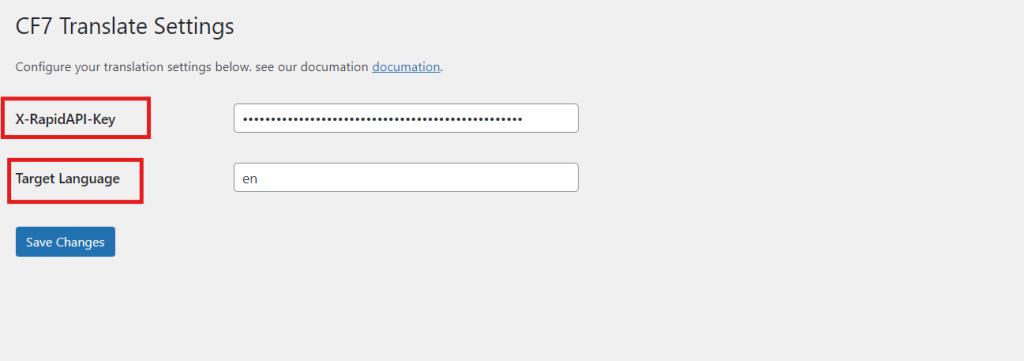
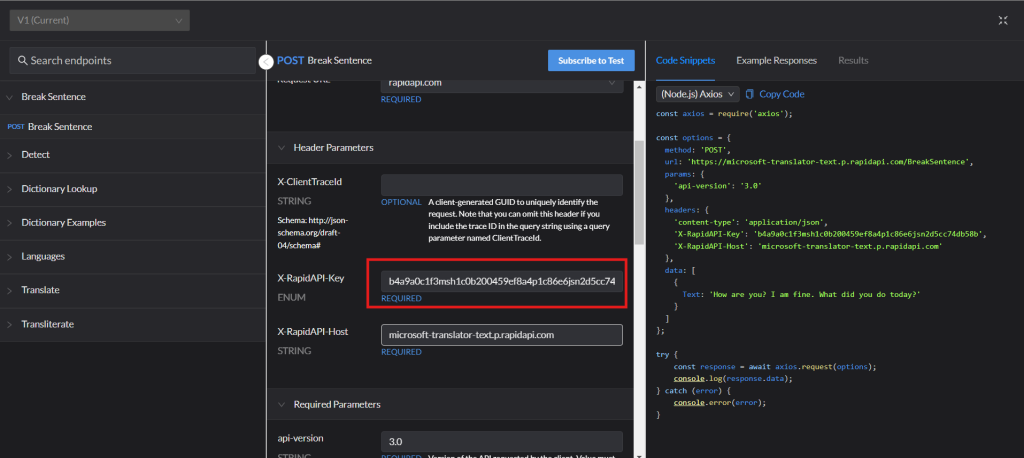
  4. In the next tab, you will find your X-RapidAPI-Key.

Creating Contact Form 7 with Original and Translated Messages:

  1. Go to your WordPress dashboard and navigate to “Contact.”
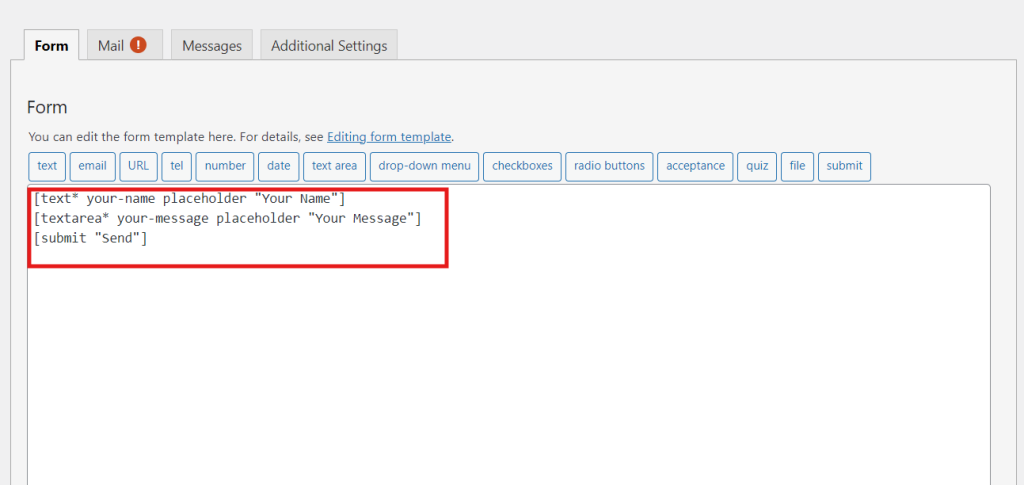
  2. Create a new Contact Form 7 form or edit an existing one.
  3. Add the desired fields to the form. For example, a text area field named [your-message].
  4.  

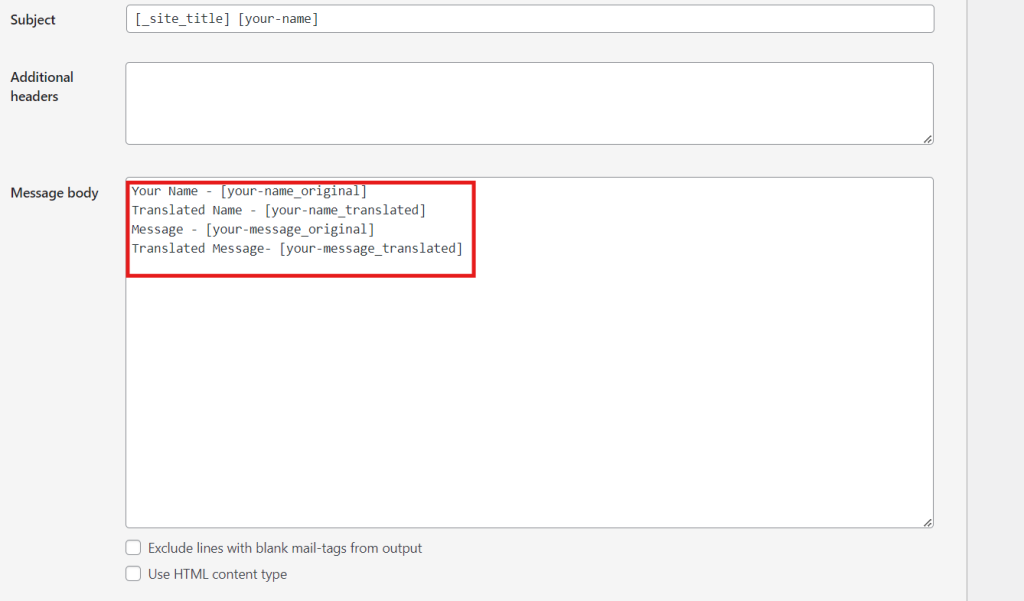
Field Naming Convention:

  1. For the original message, use _original as the suffix. For example, if your field name is [your-message], the original message field name will be [your-message_original].
  2. For the translated message, use _translated as the suffix. For example, if your field name is [your-message], the translated message field name will be [your-message_translated].

Archives

No archives to show.

Categories

  • No categories